
Use it as you will, but please credit me with the re-design and DON'T sell the pattern.
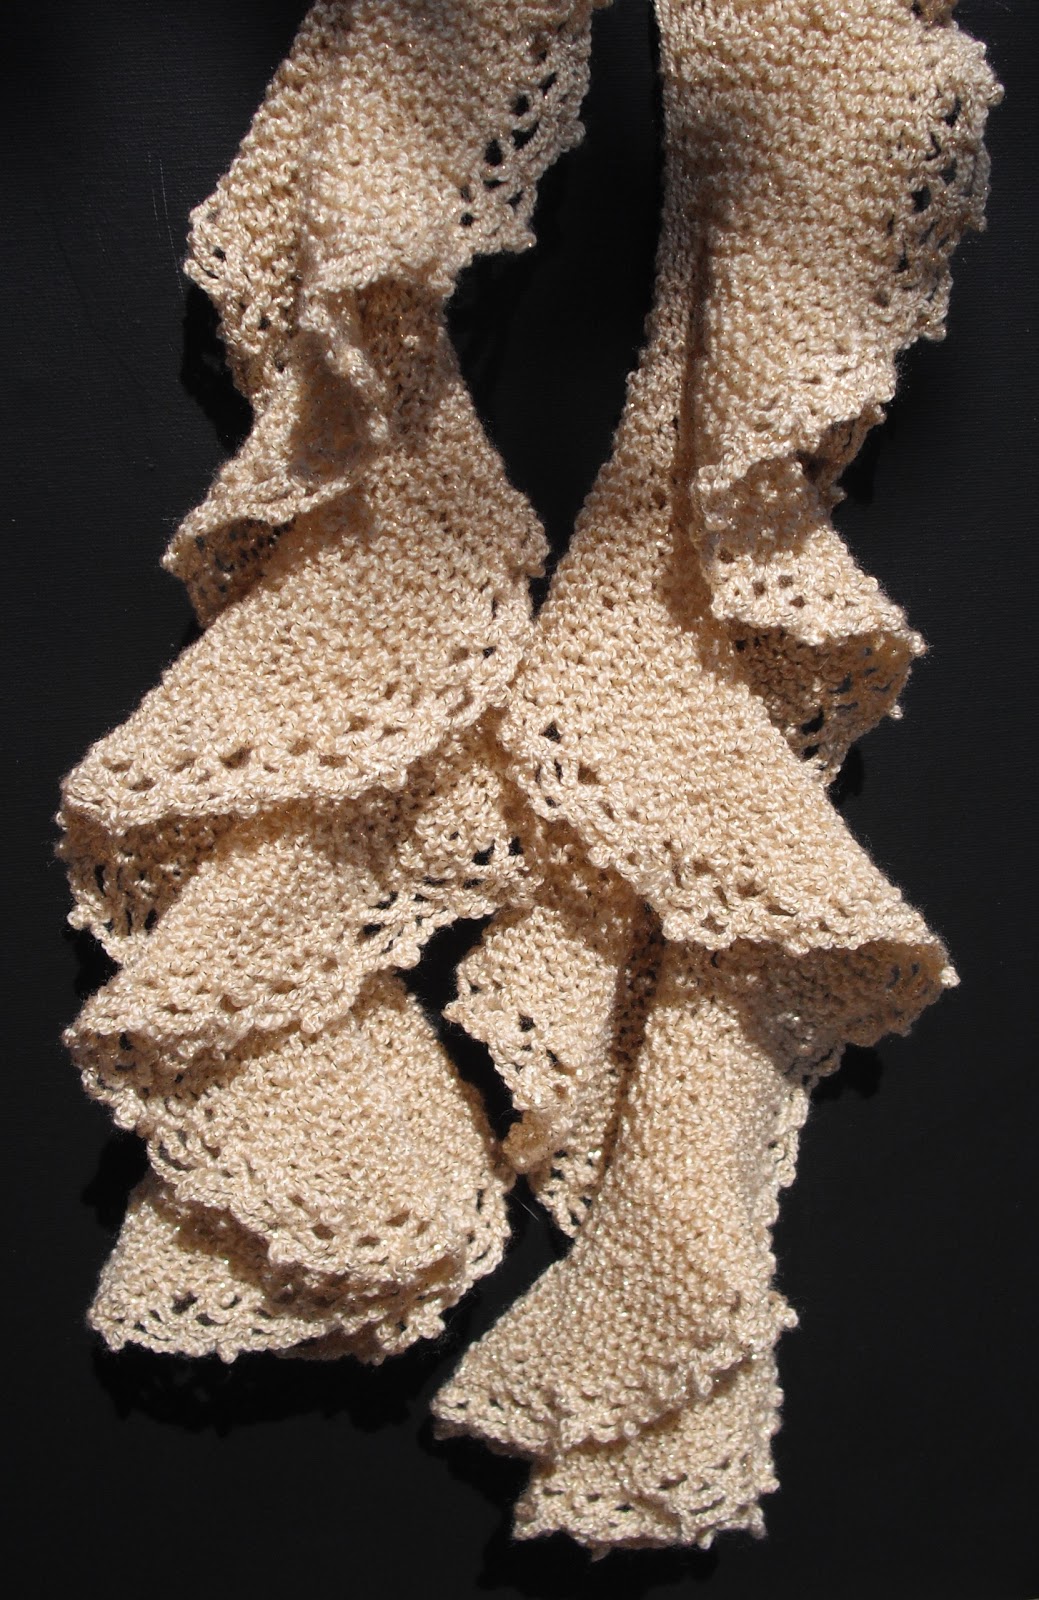
Ruffled Edge (Corkscrew) Scarf Great for beginners!
Vanna’s Glamour Yarn – 3 skeins needed, 202 yds per skein (This is a size 2 [sock] yarn) One skein for each half and the last is used in making the edging (which is optional).
Scarf can be knitted in other weight yarns --- use appropriate size needles and hook that will give you a TIGHT knit.
Size 5 knitting needles
2.0 mm crochet hook (for edging)
First Half of Scarf:
Cast on 26 sts
Row 1 – K12, turn
Row 2 – K12
Row 3 – K10, turn
Row 4 – K10
Row 5 – K8, turn
Row 6 – K8
Row 7 – K6, turn
Row 8 – K6
Row 9 – K26
Repeat these nine rows until desired length for half of the scarf.
Second Half of Scarf:
Row 1 – K6, turn
Row 2 – K6
Row 3 – K8, turn
Row 4 – K8
Row 5 – K10, turn
Row 6 – K10
Row 7 – K12, turn
Row 8 – K12
Row 9 – K26
Repeat these nine rows until this half matches the length of the first.
Bind off loosely. Fold ends in half and slip stitch to close to create rounded ends. Weave in all ends.
Edging: (Optional)
Round 1: Attach with slip stitch anywhere along outer edge of knitting (I started at the middle/back of neck area), chain 5 and sc measuring two to four knitted rows apart (or spacing as regularly as possible). End last with a chain 3 and a dc to attach to the beginning slip stitch. This keeps your next starting stitch at the top of the loop.
Round 1: Attach with slip stitch anywhere along outer edge of knitting (I started at the middle/back of neck area), chain 5 and sc measuring two to four knitted rows apart (or spacing as regularly as possible). End last with a chain 3 and a dc to attach to the beginning slip stitch. This keeps your next starting stitch at the top of the loop.
Round 2: Chain 5 and sc at the middle of each of the previous chain 5 row. End last with a chain 3 and a dc to attach to the top of the dc of Round 1.
Round 3: Chain 6 and make a picot 3 chains from hook and chain 3 again and sc to attach to the next chain 5 all around. Slip stitch at the end. Weave in ends.
 |
| Bottom edge has been folded in half and whipped stitch to form a rounded end. |
Beautiful. Thanks for sharing.
ReplyDeleteThis is beautiful and I just want to make sure I understand...is the 2nd half worked as a separate piece or do I just keep going after I finish the first half? Also, is the whipstitching creating continuous piece, like a cowl? Sorry to be so clueless just having a hard time visualizing that step. Thanks for such a beautiful pattern.
ReplyDeleteAndrea, first thank you!
DeleteRe: 2nd half ---- no, don't work as a second piece. Just keep going with the second half instructions when the first half is the length that you want. I didn't want to say that the scarf should measure this amount of inches or be this many rows. Different tensions make the ruffles act more or less "ruffly-er" and people have different preferences on the length of their scarf.
Re: Whipstitching ---- interesting on connecting the two short ends to make a cowl! What I meant, though, in the instructions can be seen in the last photo in this blog entry. The first row on the first half made should be folded in half and whipstitched which creates a somewhat rounded end. The same on the last row of the second half. Then do the crochet edge all the way around.
But creating a continuous piece by stitching the two ends together is something that I'm going to have to try! :-) Thanks! Barb
That is so helpful, Barb. Thank you for your time and your helpful reply. I very much am enjoying your blog! ~Andrea
Delete